Creating new items
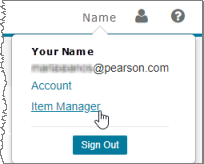
- Sign in to open the Mastering Authoring main page, select
 Access account or sign out (top right) and then choose Item Manager.
-
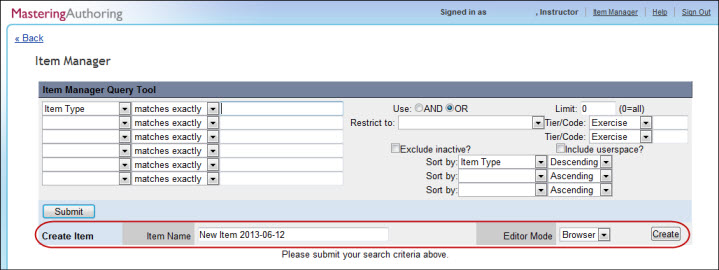
In the Create Item row at the bottom:
Enter an Item Name or accept the default name ("New Item" with today's date) for now. You can change the item title later. Select Browser for the Editor Mode, and click Create.
To alternatively create a new item using the Enhanced Simple Editor: Edit the New Item title, choose Create Item in ESE, and then choose Create in ESE (on the right). These options appear below the red callout area in the image below and are not available to non-Pearson staff. For more information, see About the Enhanced Simple Editor.
- To complete the item, follow the steps in these topics:
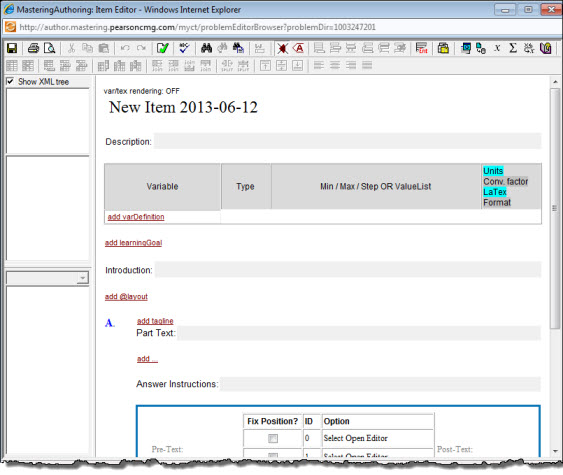
The Item Editor opens in a new window, as shown below. (Image of the Item Editor with callouts) For more information on working in the Item Editor, see the Item Editor toolbar, Entity window, and Attribute window.

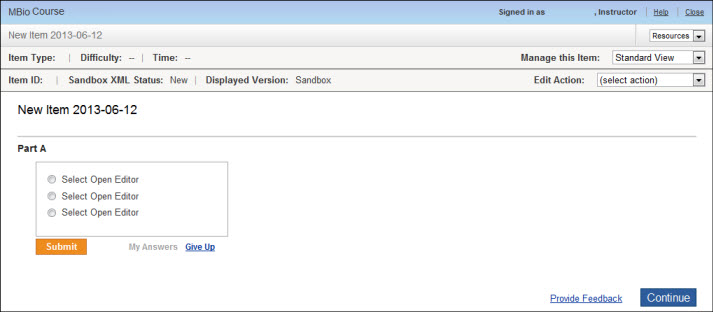
The new item template opens in Standard View (the view that students see) in another window that partially overlaps the Item Editor window.


 Item status information and menus you can access from here.